Create Teams in Sports Connect
For Teams 2.0, go to this page: Create Teams with Teams 2.0
Create New Teams using Auto Assign Teams
Team Builder
The Team Builder is used to allocate registered players to different teams within their division. Under each division you can create an unlimited number of teams.
Steps to Create Teams:
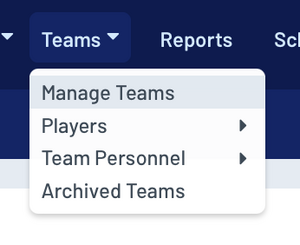
1. Once you're logged in as a user with the proper access, click on the Teams button on the admin menu, then select Manage Teams.
2. Select the program and division you would like to create the team under from the drop down menus and click the Add New Team button.
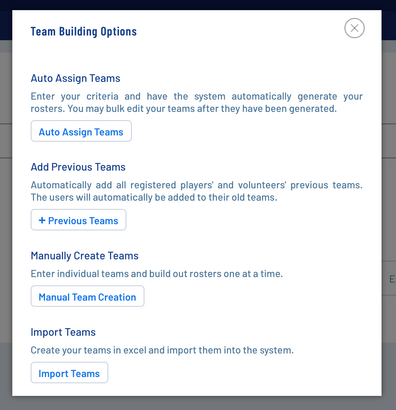
3. A pop up will appear giving you 3 options. Click Auto Assign Teams.
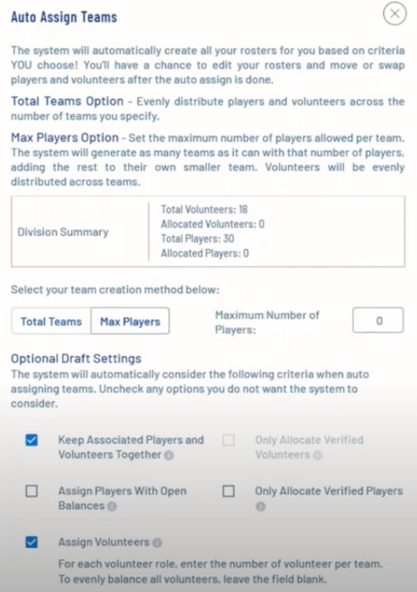
4. Choose if you want to create teams based on the Total Number of Teams or the Maximum Number of Players per Team.
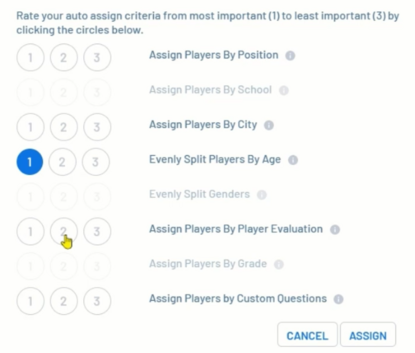
5. Choose any Optional Settings. Hover over the small information icons for details regarding those options. 6. Choose what options to use for your auto assign criteria.
7. When you've selected all of your options click the Assign button.
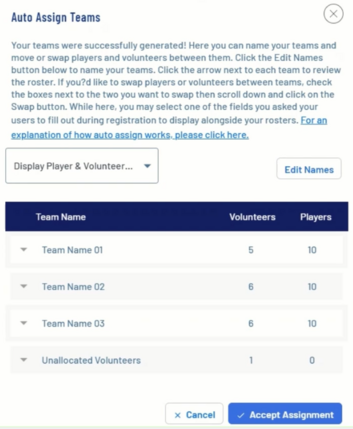
8. You will now see the teams that were created.
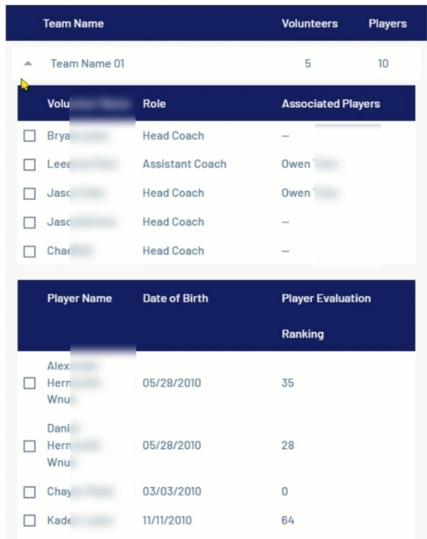
9. Click the down arrow next to a Team Name to view the Volunteers and Players that were allocated to each team.
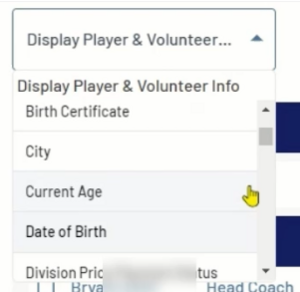
10. Use the dropdown field to change the second and third column of viewable data.
11. Use the check boxes next to names and the Swap button to trade players or volunteers between two teams.
12. When you're finished click the Accept Assignment button to save the teams. You can also Undo the Assignments.
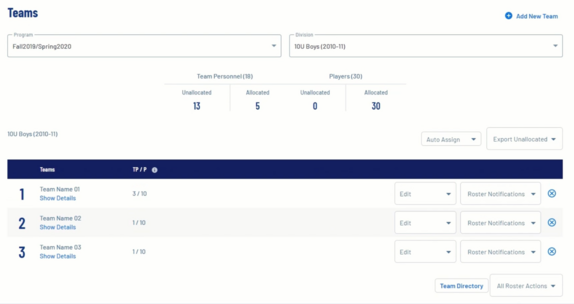
13. You will now see the teams that you've created. You may edit the team information, volunteers, and players.
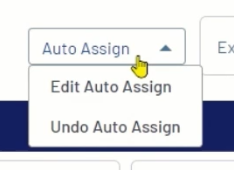
14. If you are unhappy with the Auto Assign you may edit or undo it.
At this point the team rosters are NOT published to coaches or players.
You will now need to Submit Teams to the AYSO Association Platform as well as Post Rosters, and optionally Email Team Rosters.

